Looker Ingestion Guide: Setup & Prerequisites
In order to configure ingestion from Looker, you'll first have to ensure you have an API key to access the Looker resources.
Looker Prerequisites
Follow below steps to create API key.
Login: Login to
https://<instance-name>.cloud.looker.com. Replace<instance-name>by your looker instance name. For example:https://abc.cloud.looker.comAdmin Panel: Navigate to
Admin Panelon looker home page.
Roles Panel: Search for
RolesonAdmin Paneland clickRolesto openRoles Panel.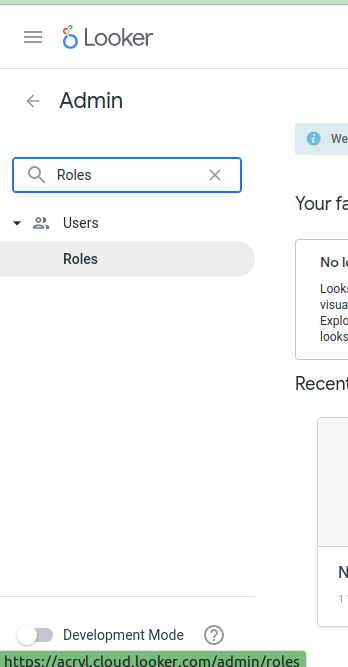
Create A New Permission Set: On
Role Panelfollow below steps to create aNew Permission Set.a. Go to
New Permission Set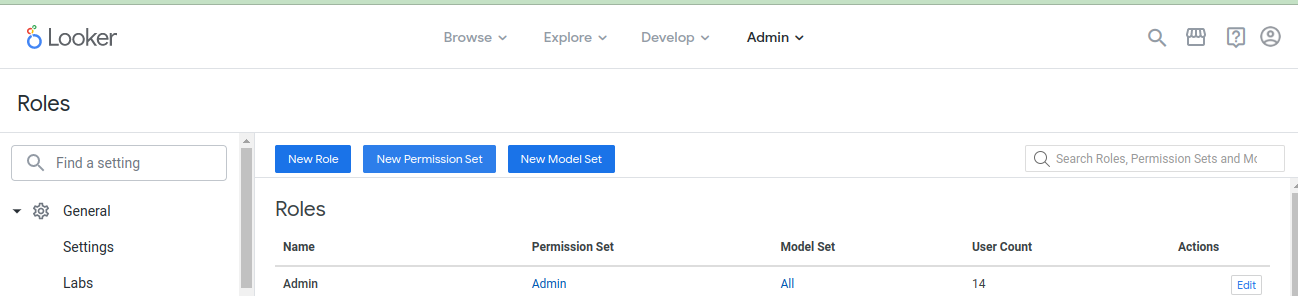
b. Set name for
New Permission Set, saysDataHub Connector Permission Setand select following permissionsaccess_data
see_lookml_dashboards
see_looks
see_user_dashboards
explore
see_sql
see_lookml
clear_cache_refresh
manage_models
see_datagroups
see_pdts
see_queries
see_schedules
see_system_activity
see_users
Scroll down and select all permissions mentioned above & click
New Permission Set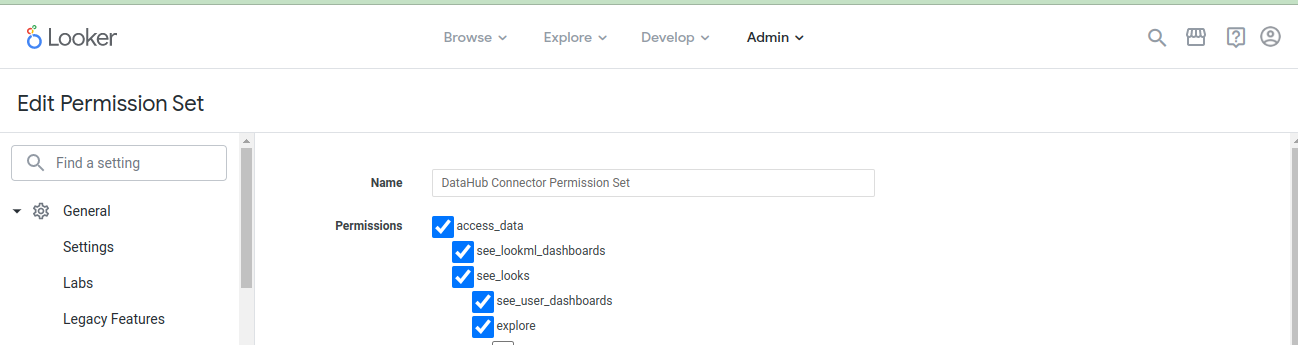
Create A Role: On
Role Panelfollow below steps to create a new role.a. Go to
New Role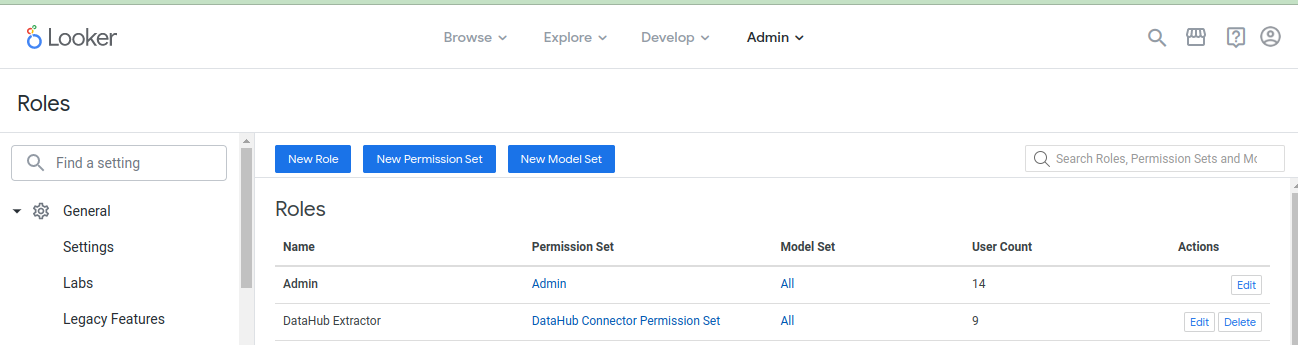
b. Set name for
New Role, saysDataHub Extractorand set following fields on this window.Set
Permission Setto permission set created in previous step i.eDataHub Connector Permission SetModel SettoAllScroll down & click
New Role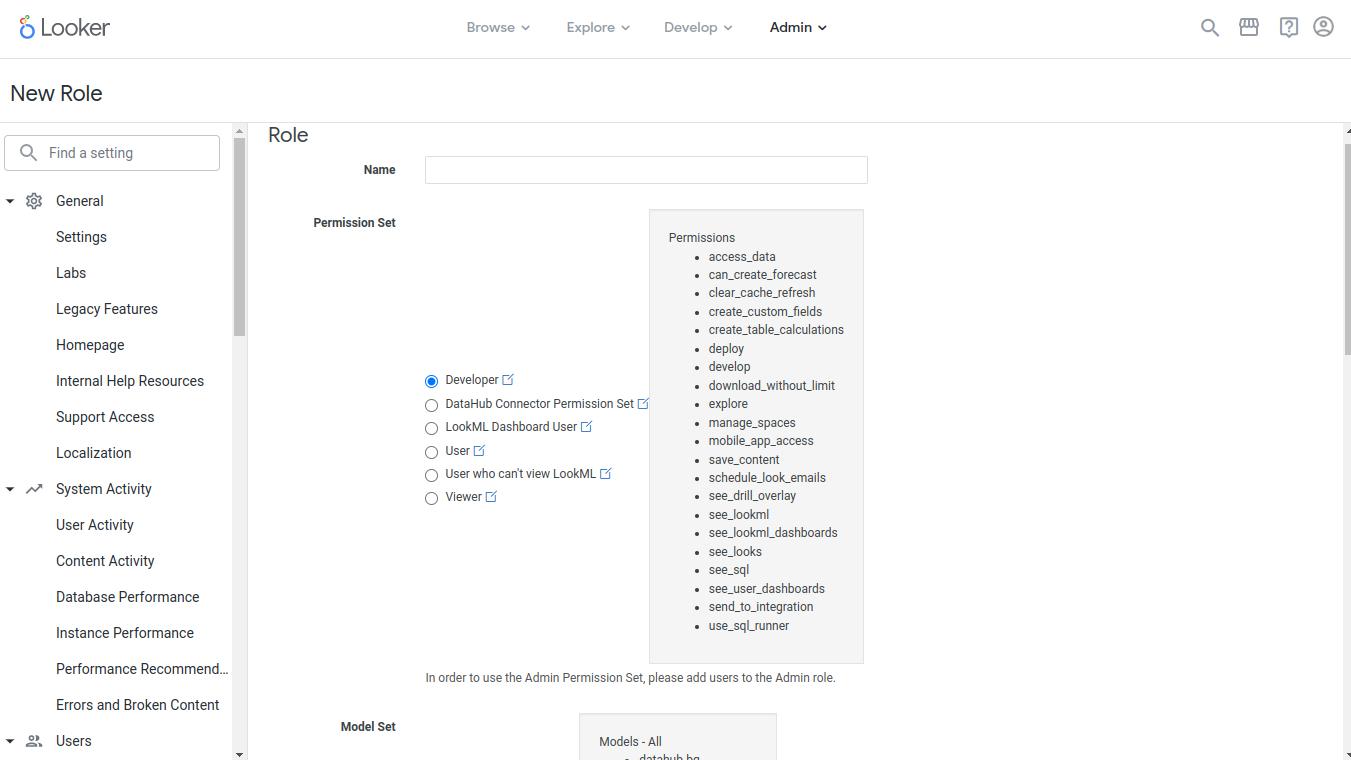
Create A New User: On
Admin Panelfollow below steps to create a new user.a. Search for
Usersand clickUsersto openUsers Panel
b. Click
Add Users.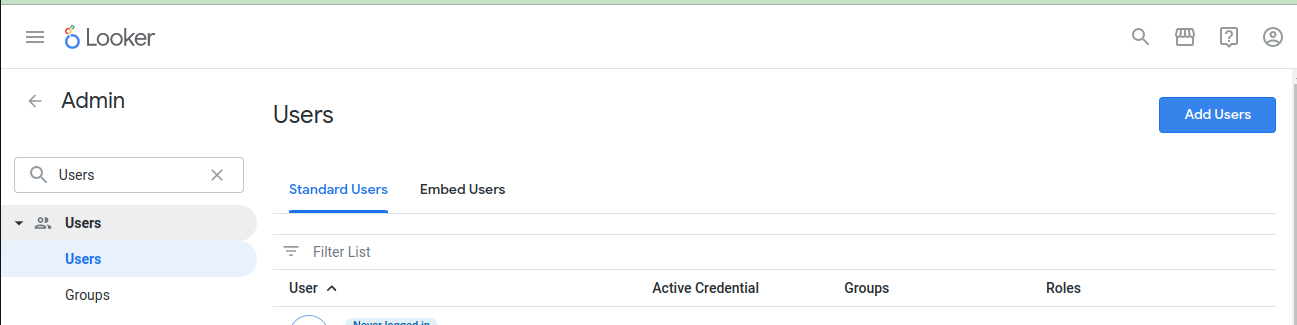
c. On
Adding a new userset detail in following fields.Add user's
Email AddressesSet
Rolesto the role created in previous step i.e.DataHub Extractorclick
Save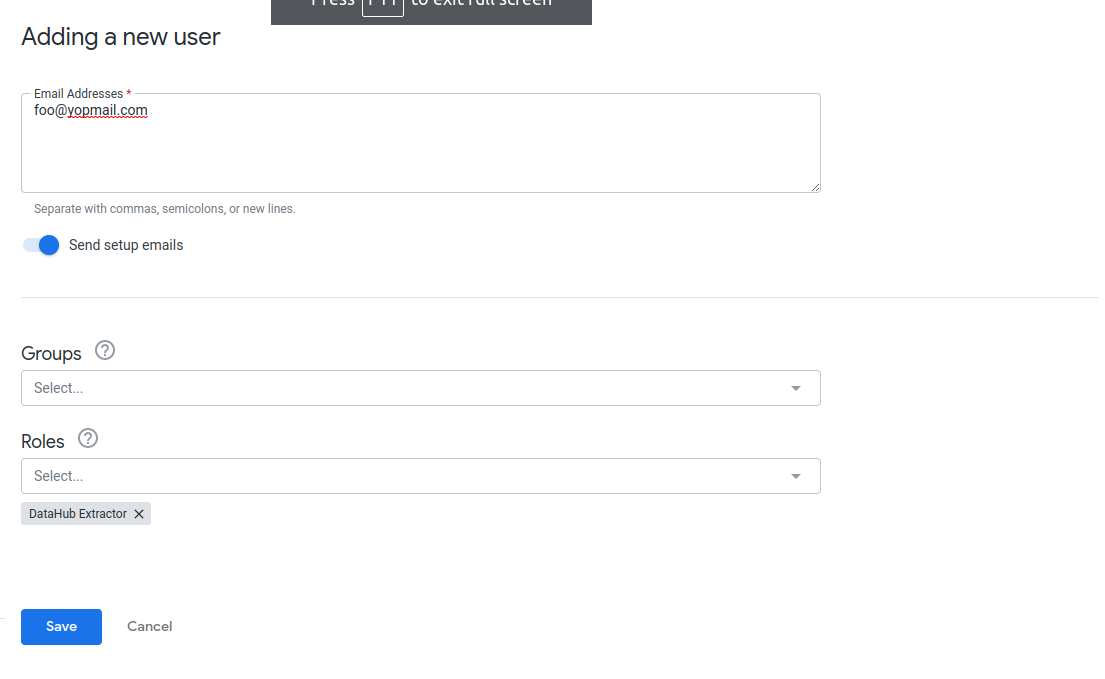
Create An API Key: On
User Panelfollow below steps to create an API key.a. Click on newly created user on
User Panel
b. Click
Edit Keysto openAPI Key Panel.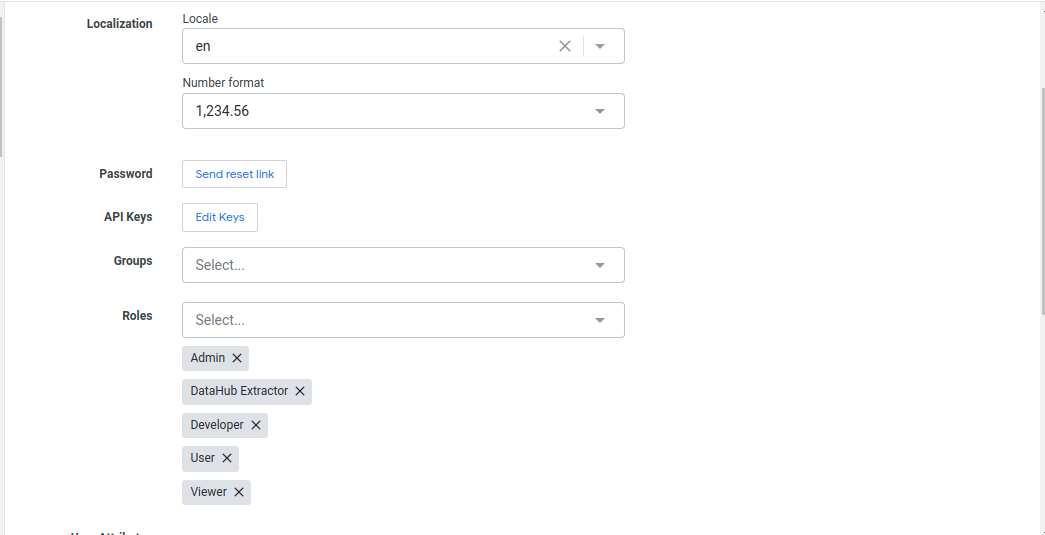
c. On
API Key PanelclickNew API Keyto generate a newClient IdandClient Secret.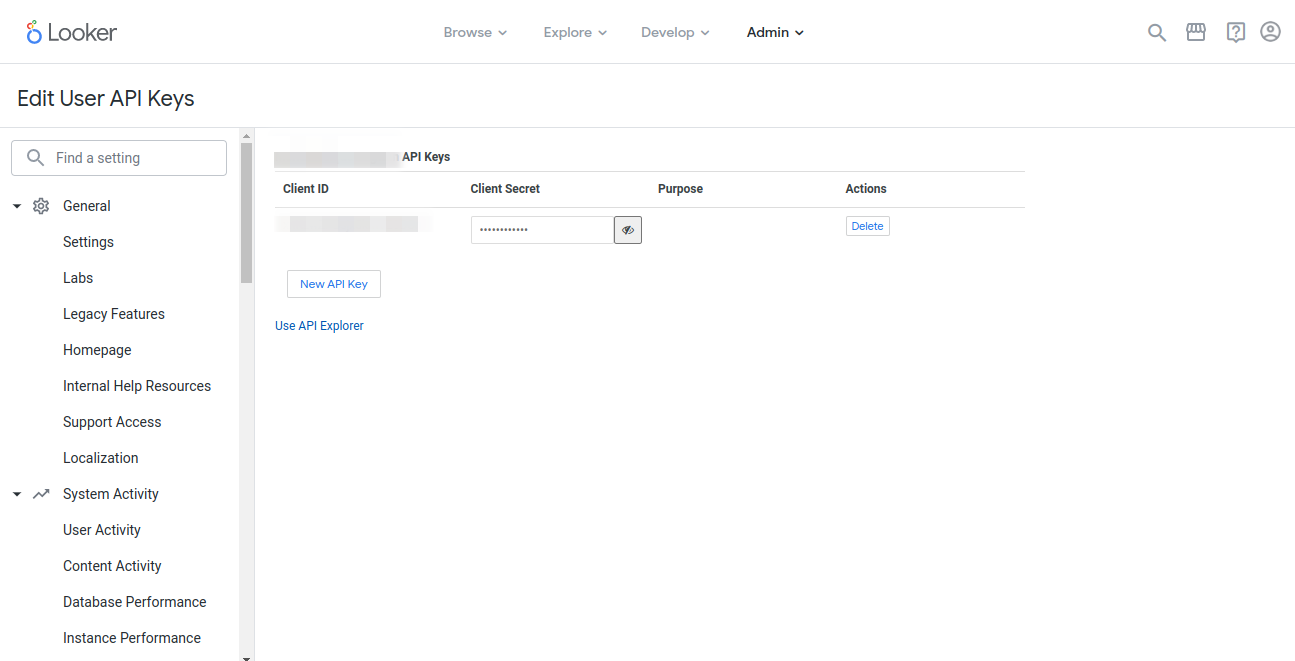
LookML Ingestion Guide: Setup & Prerequisites
Follow below steps to create GitHub Deploy Key
Generate a private-public ssh key pair: This will typically generate two files, e.g.
looker_datahub_deploy_key(this is the private key) andlooker_datahub_deploy_key.pub(this is the public key)ssh-keygen -t rsa -f looker_datahub_deploy_keyLogin to GitHub: Login to https://github.com
Add Deploy Key: Navigate to
GitHub Repository->Settings->Deploy Keysand add public key i.e. looker_datahub_deploy_key.pub as deploy key with read access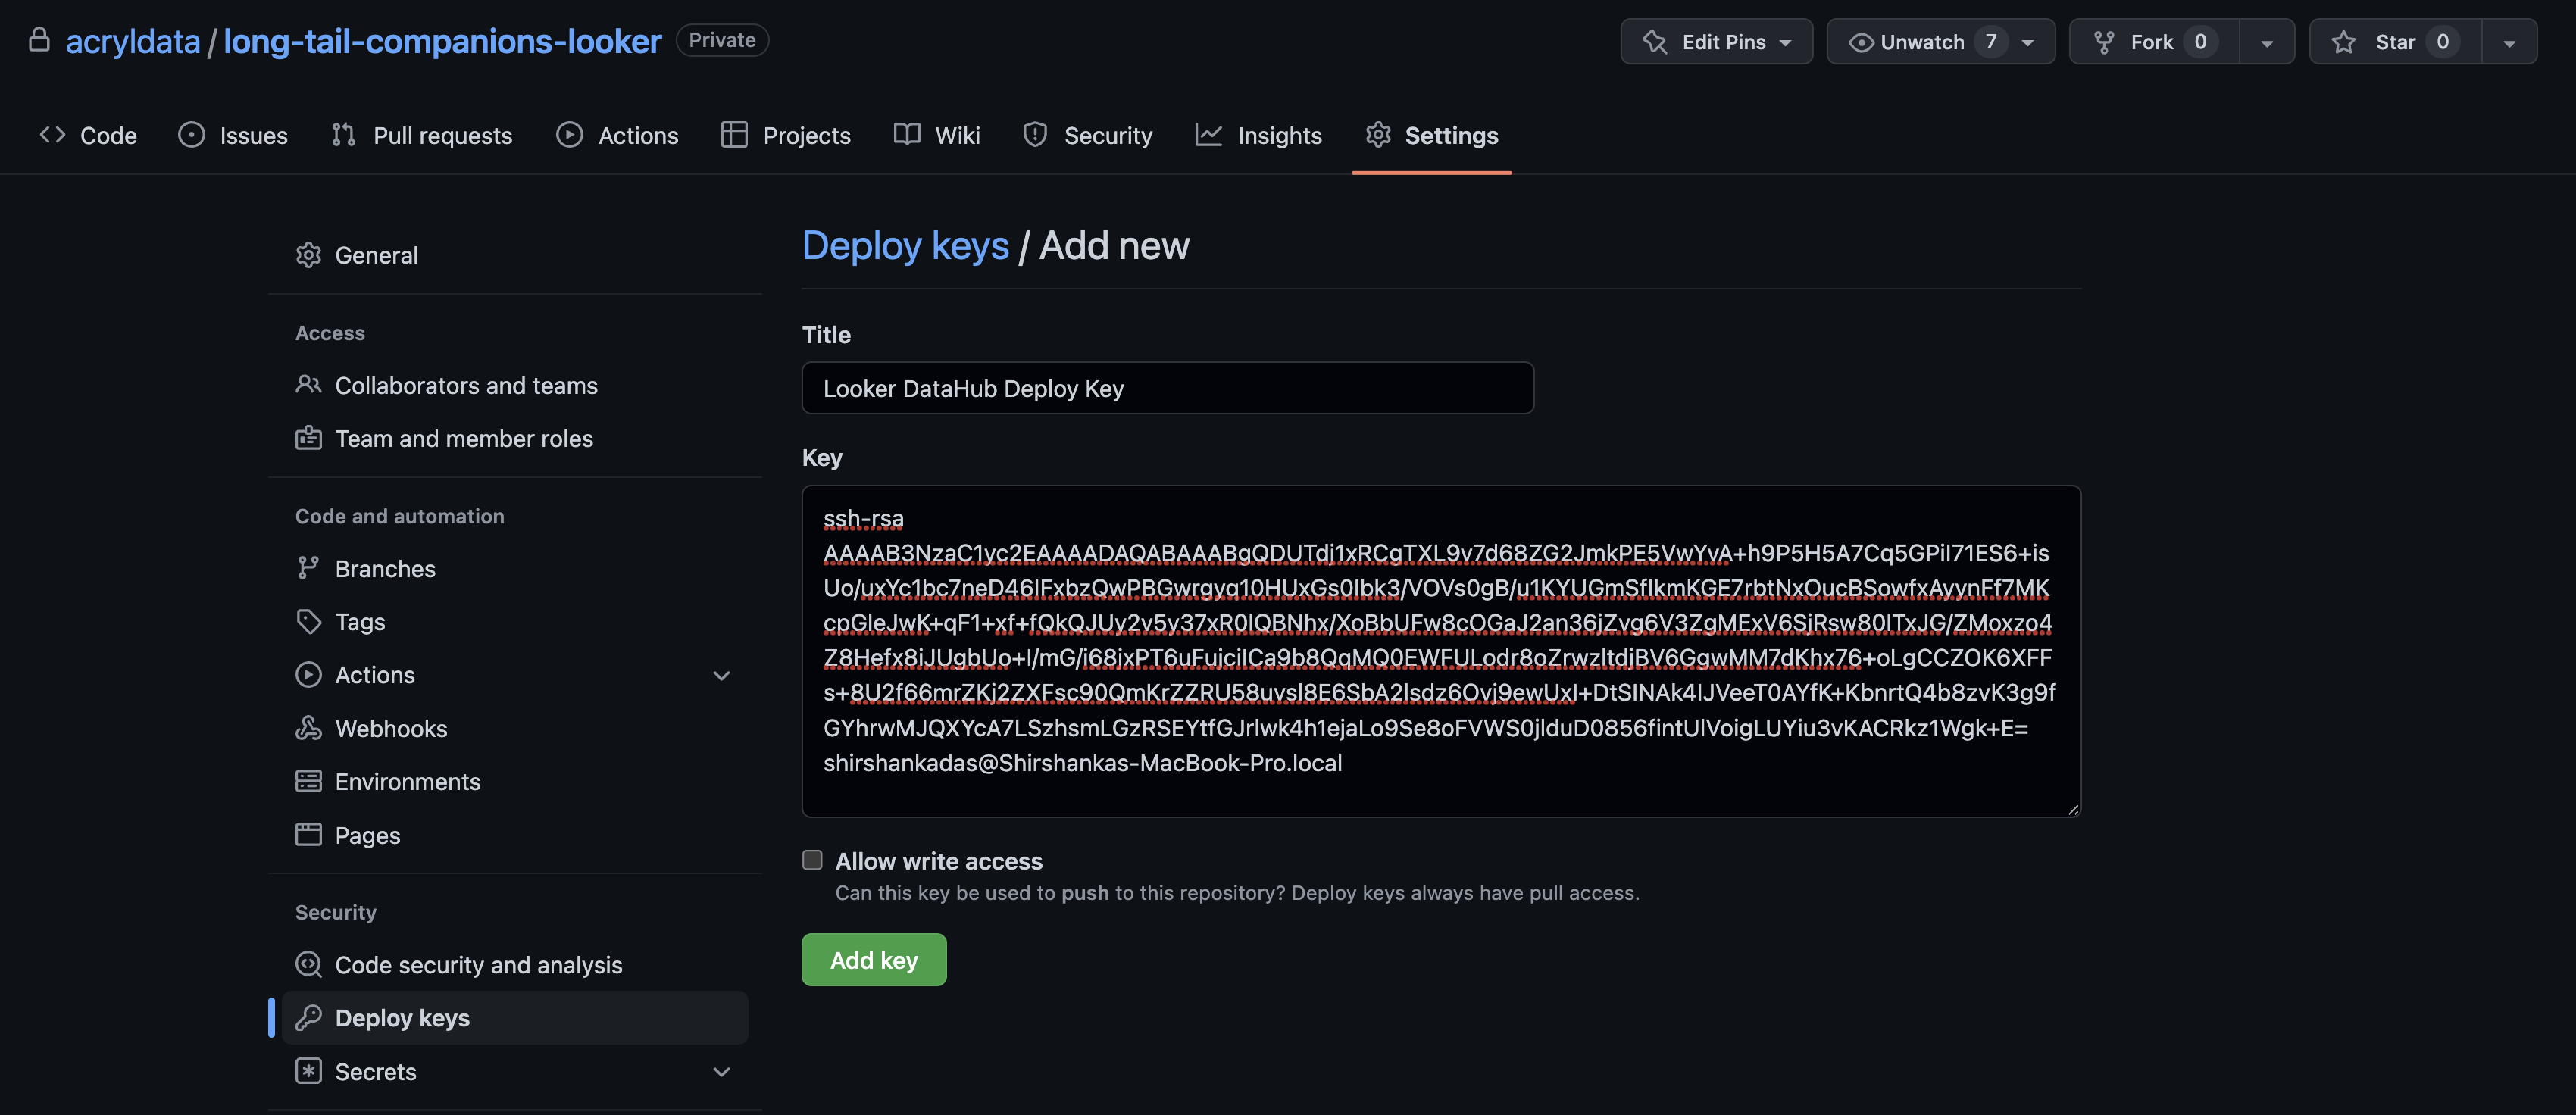
Make note of the private key file, you will need to paste the contents of the file into the GitHub Deploy Key field later while configuring ingestion on DataHub Portal.
Next Steps
Once you've done all of the above steps, it's time to move on to configuring the actual ingestion source within DataHub.
Need more help? Join the conversation in Slack!